
‘ROSA’ Art Walkthrough
It’s always fun to see the progression of art from start to finish, and I love being able to share all the work that goes into each page of a picture book. Here’s a walkthrough of one of my favorite pieces for ‘WHAT ROSA BROUGHT’, by author Jacob Sager Weinstein about his mother’s childhood story of escaping the Nazis in Vienna in 1938-9.
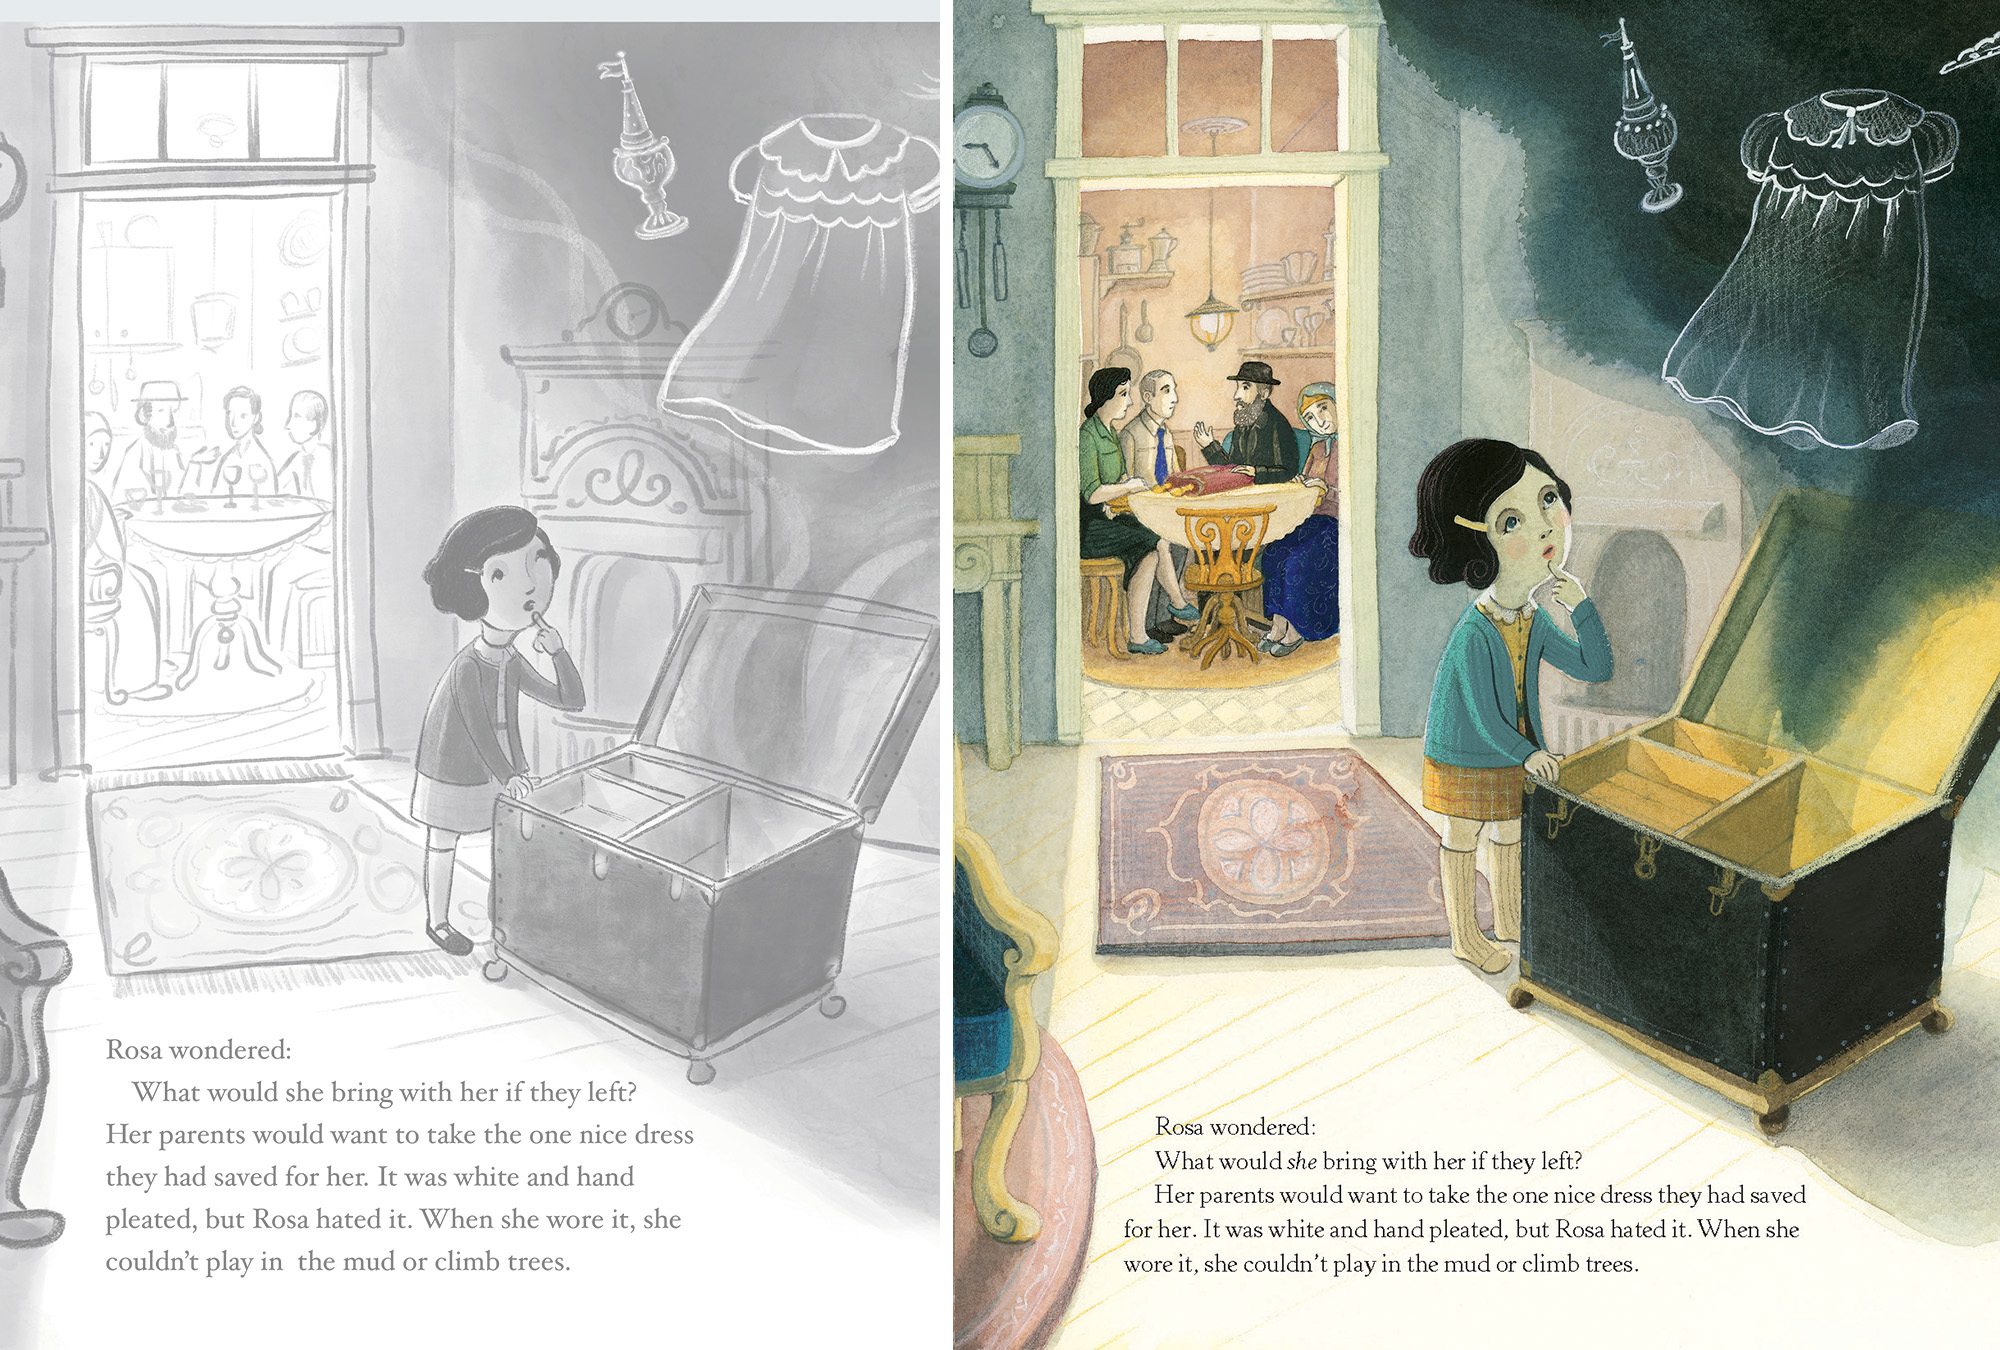
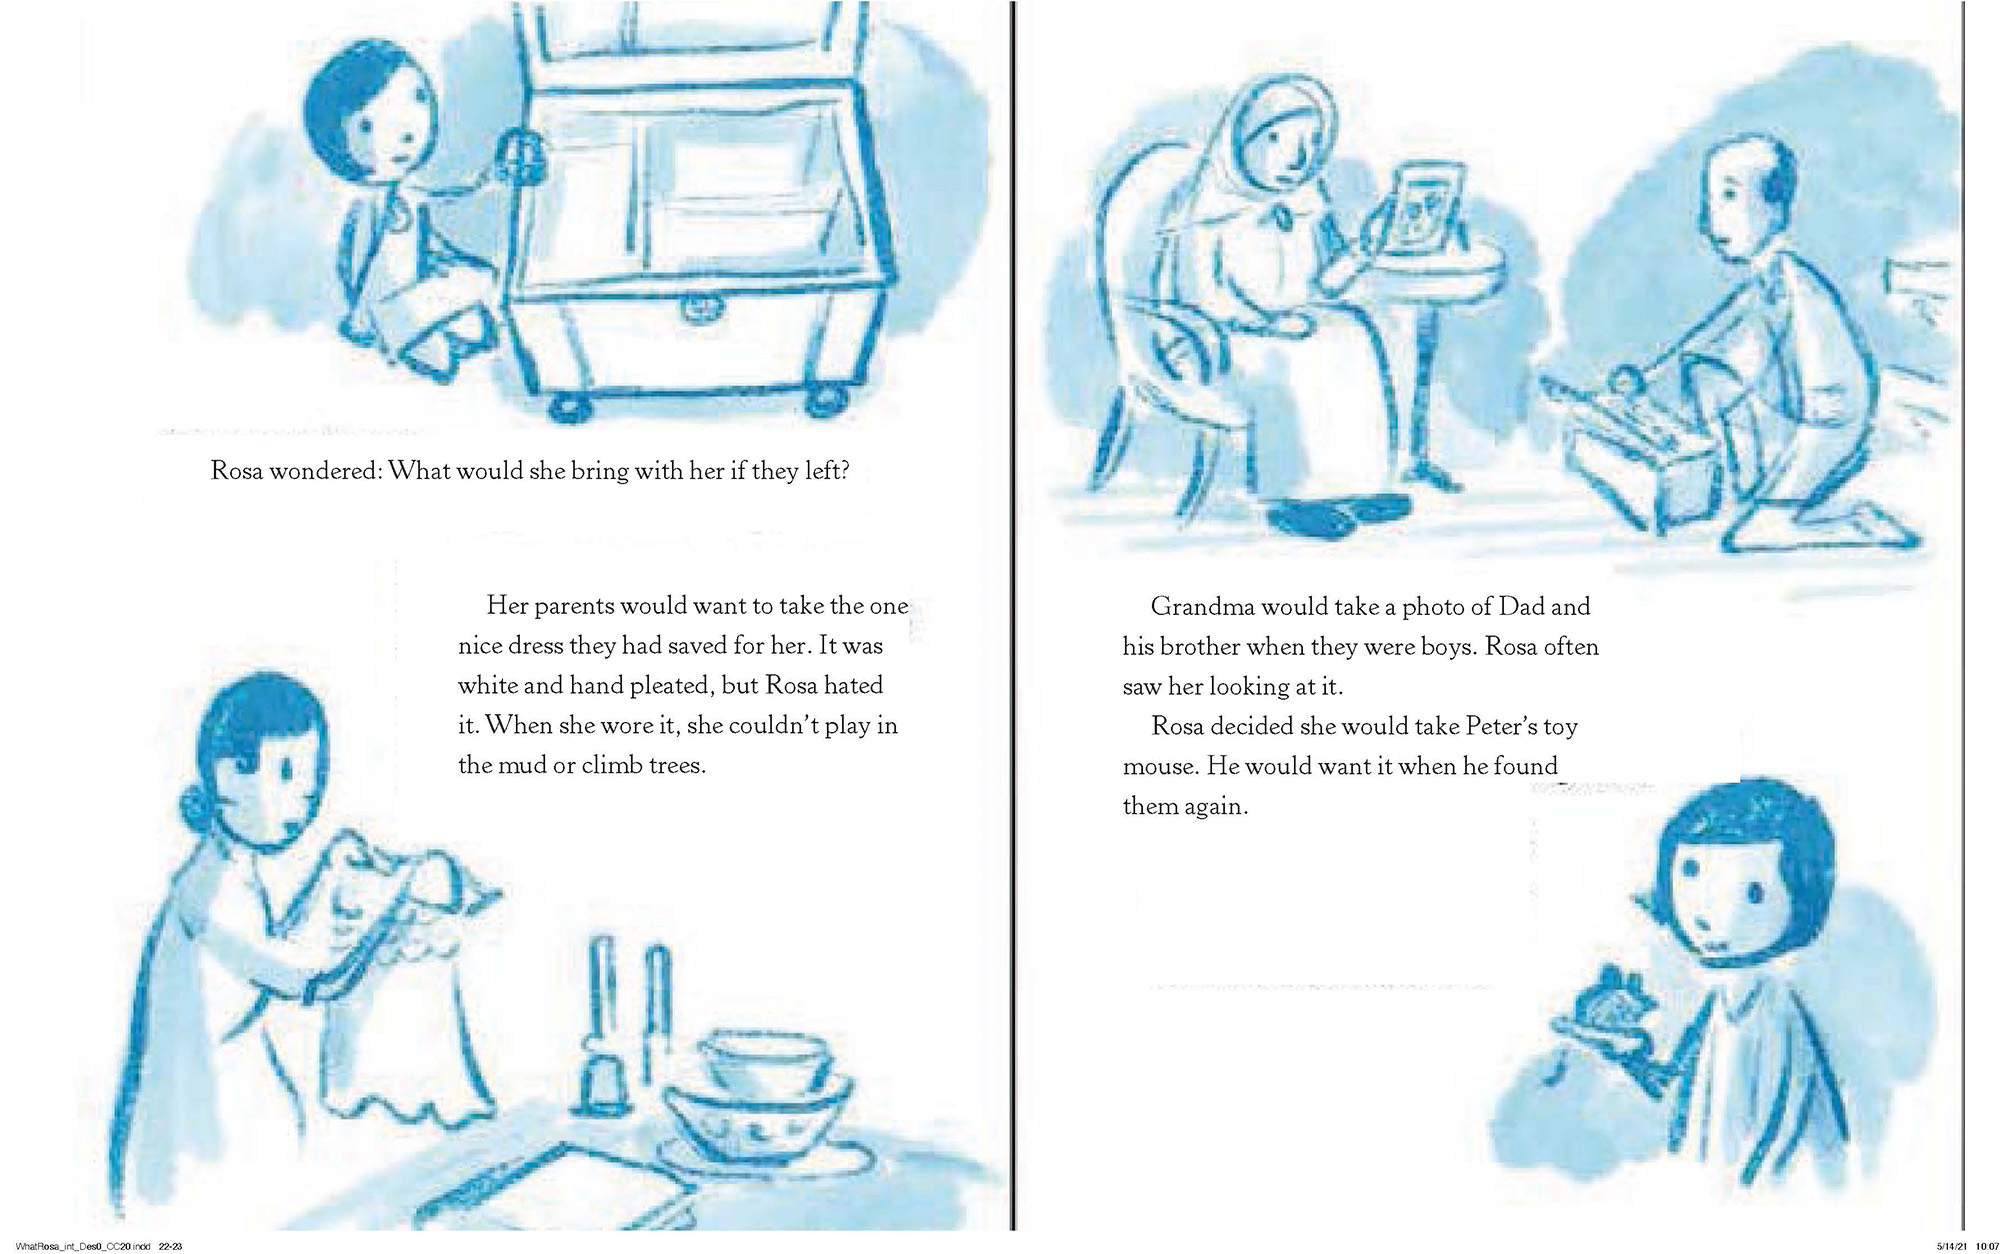
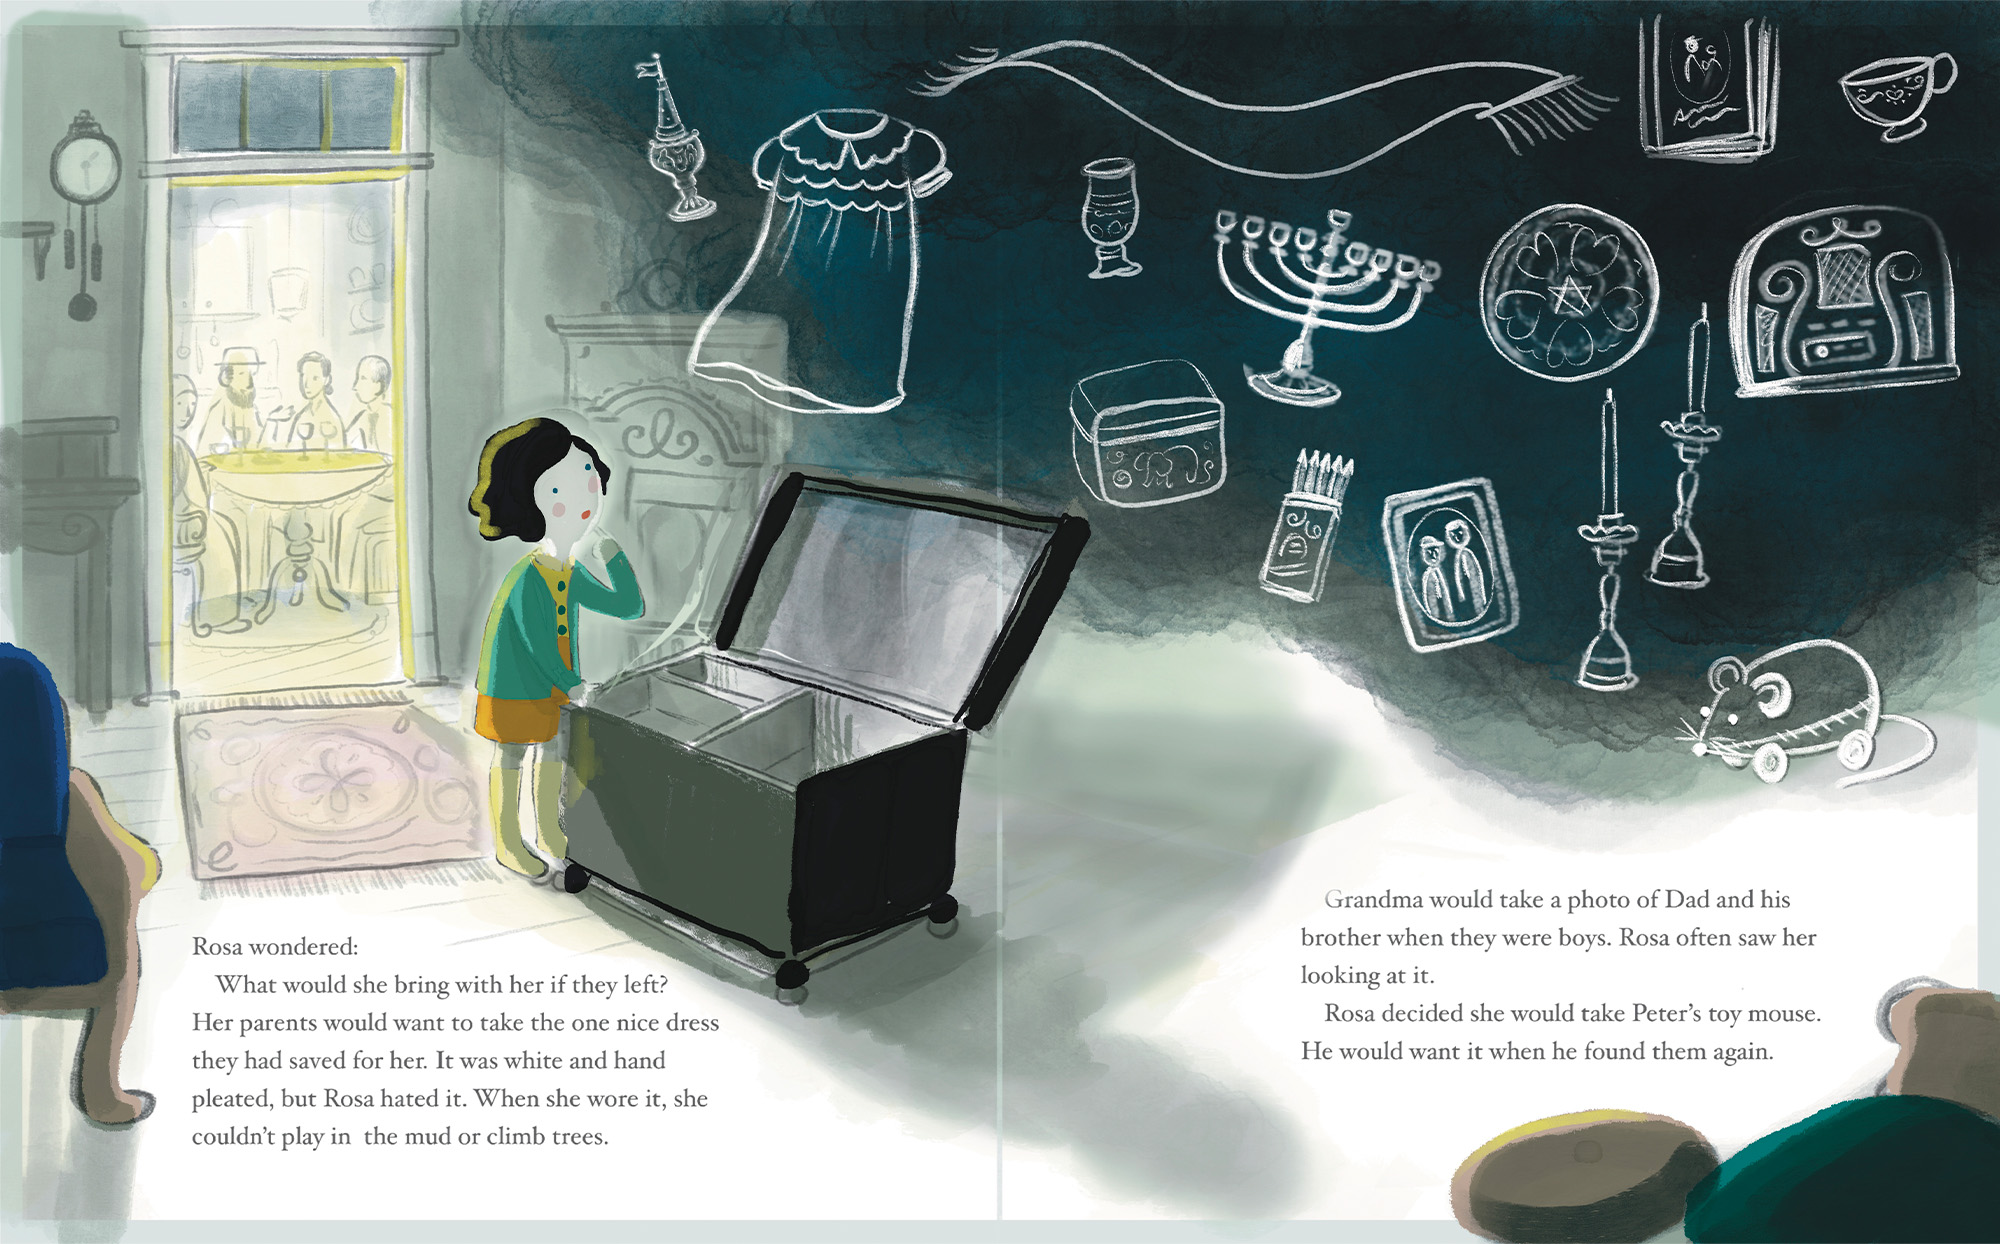
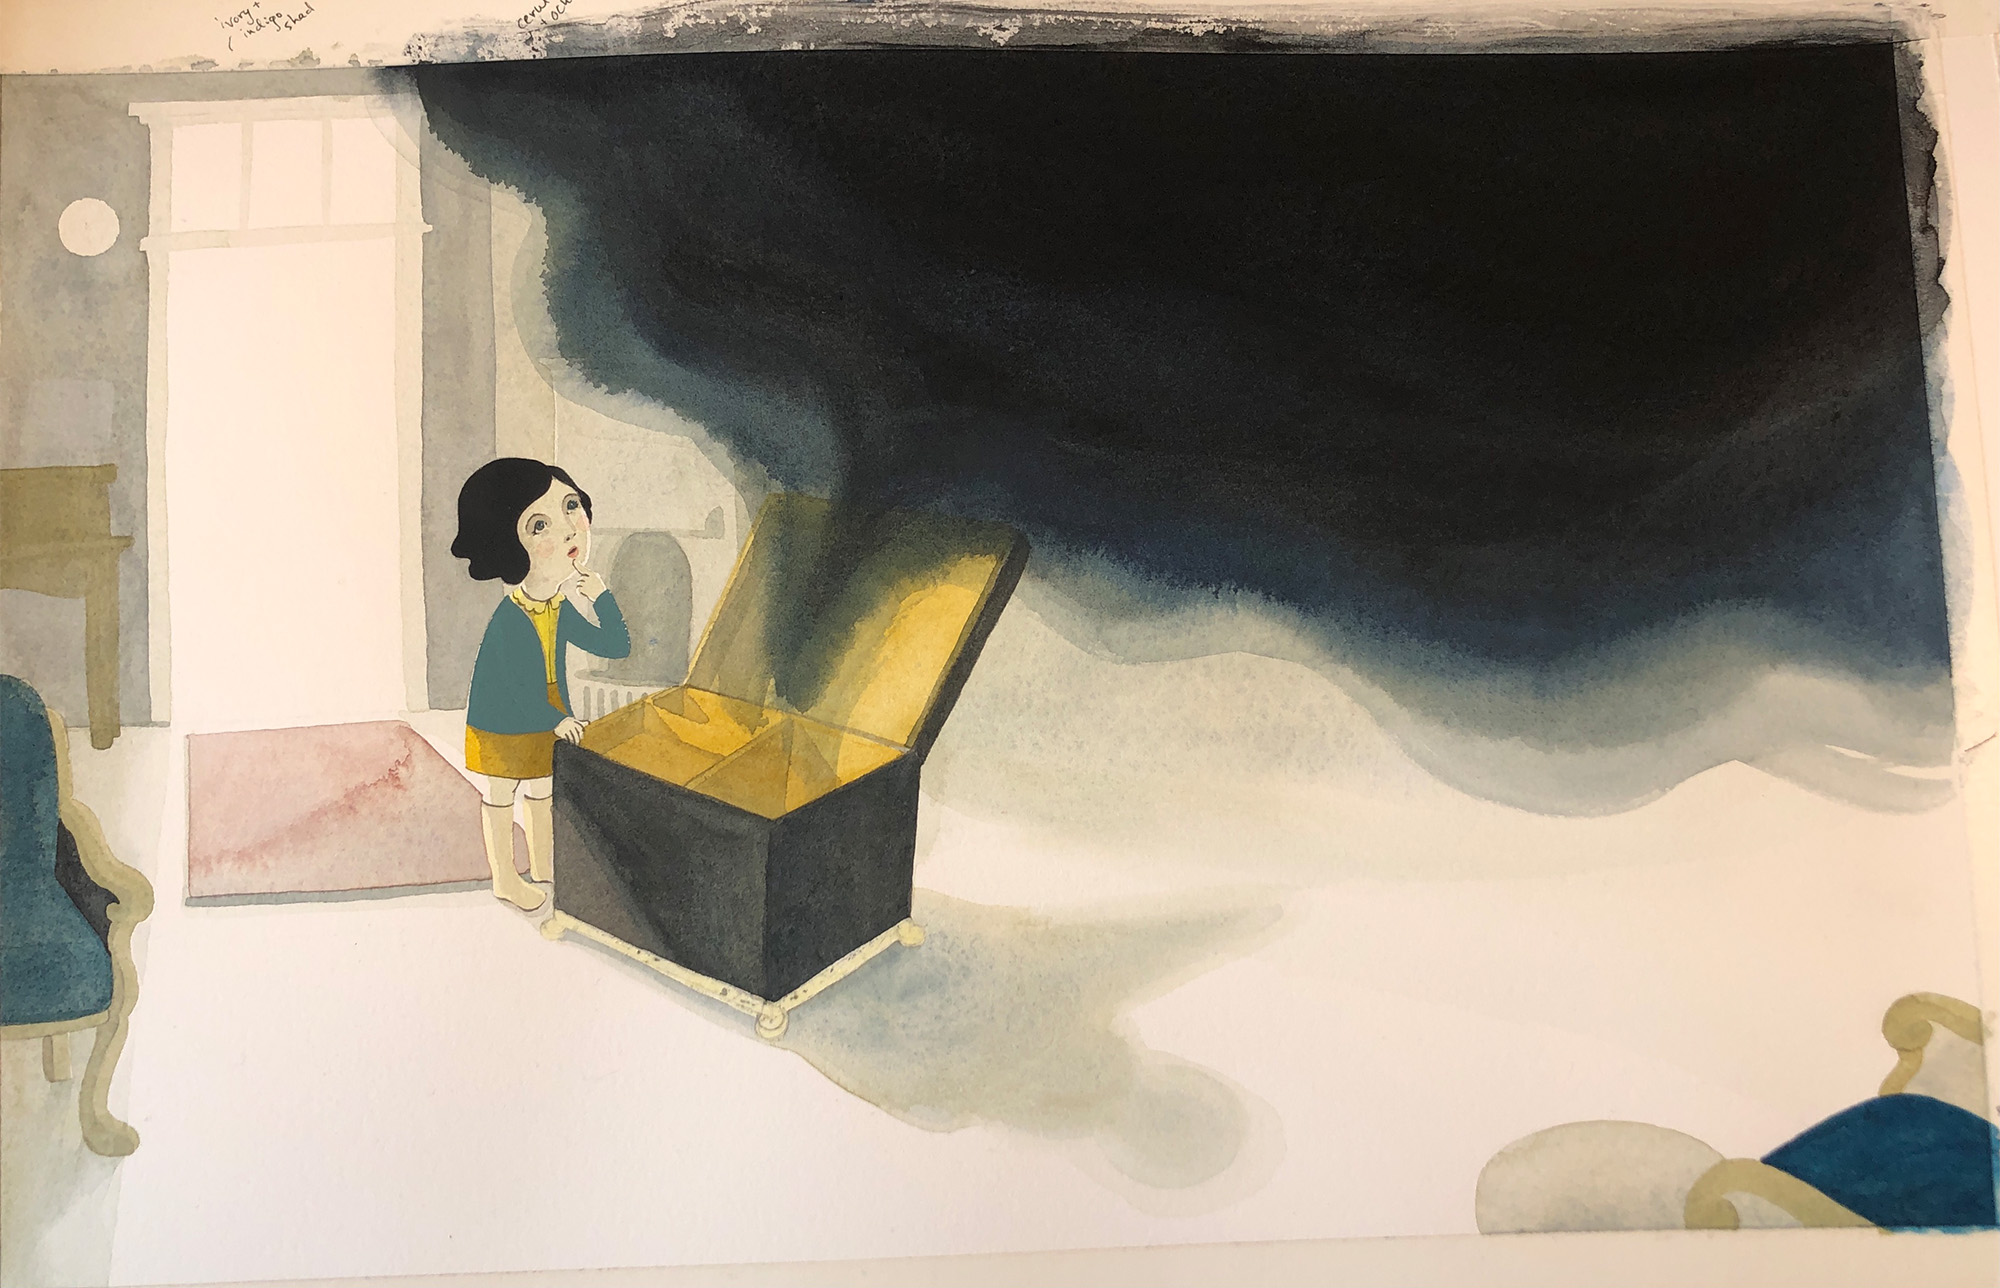
Before revisiting my art process for this page, I had forgotten that this was my original layout (in blue) for the thumbnail/storyboard sketches. This scene is a KEY MOMENT in the story, when Rosa is considering what she and her family members will take with them in their displacement, and these disjointed moments happening in spot illustrations just wouldn’t do.
I had to re-envision what this scene could be like, by getting into Rosa’s head. Maybe there’s a way I can show her imagination at work? When I’m re-working layouts I stay rough, making tiny sketches on paper, then play around with digital sketching on top of those.

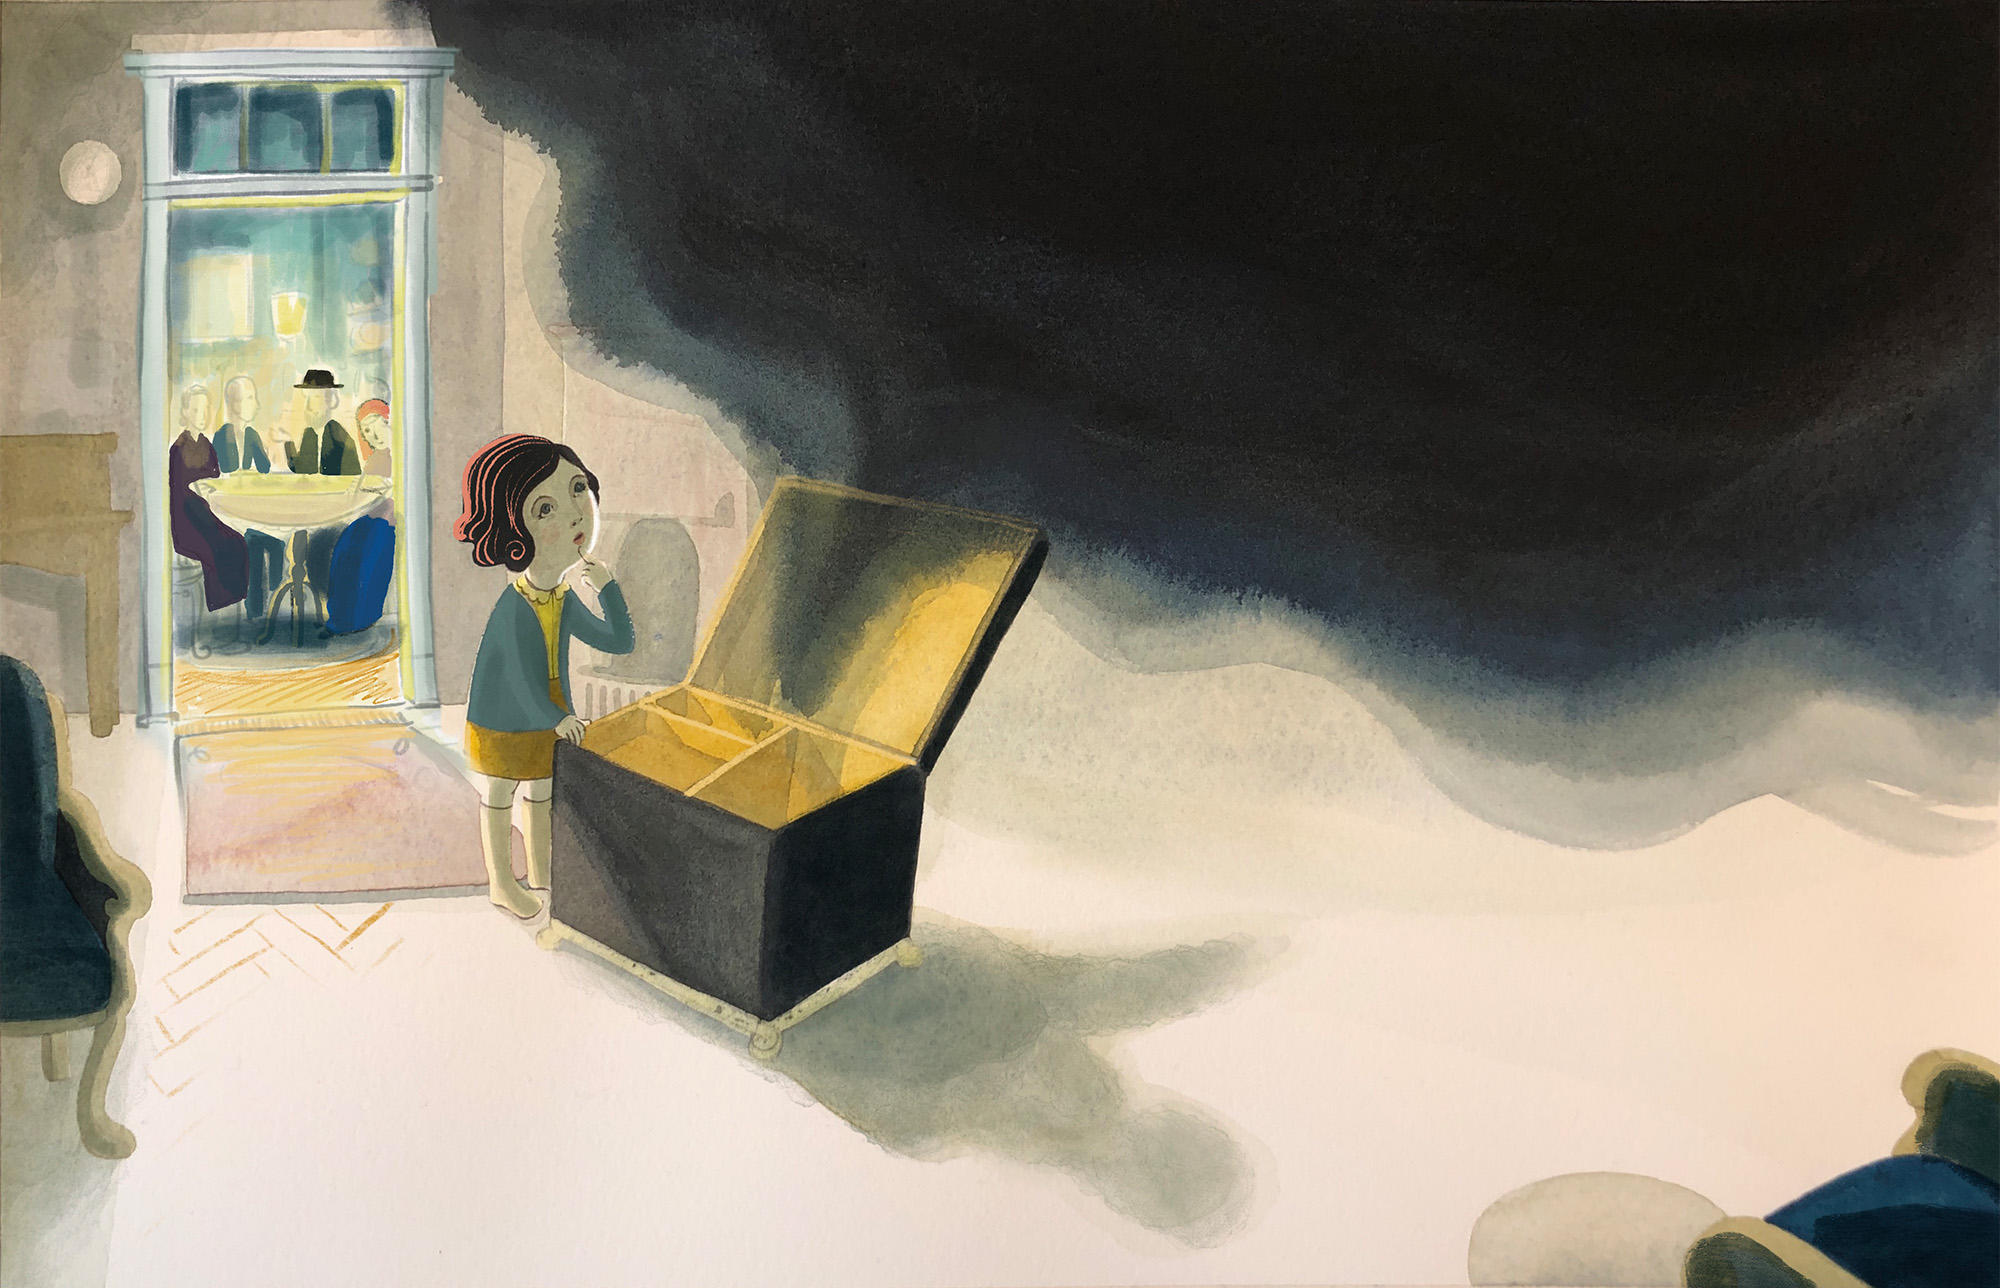
Once I have my direction worked out, I collect photo reference that will inform each scene.
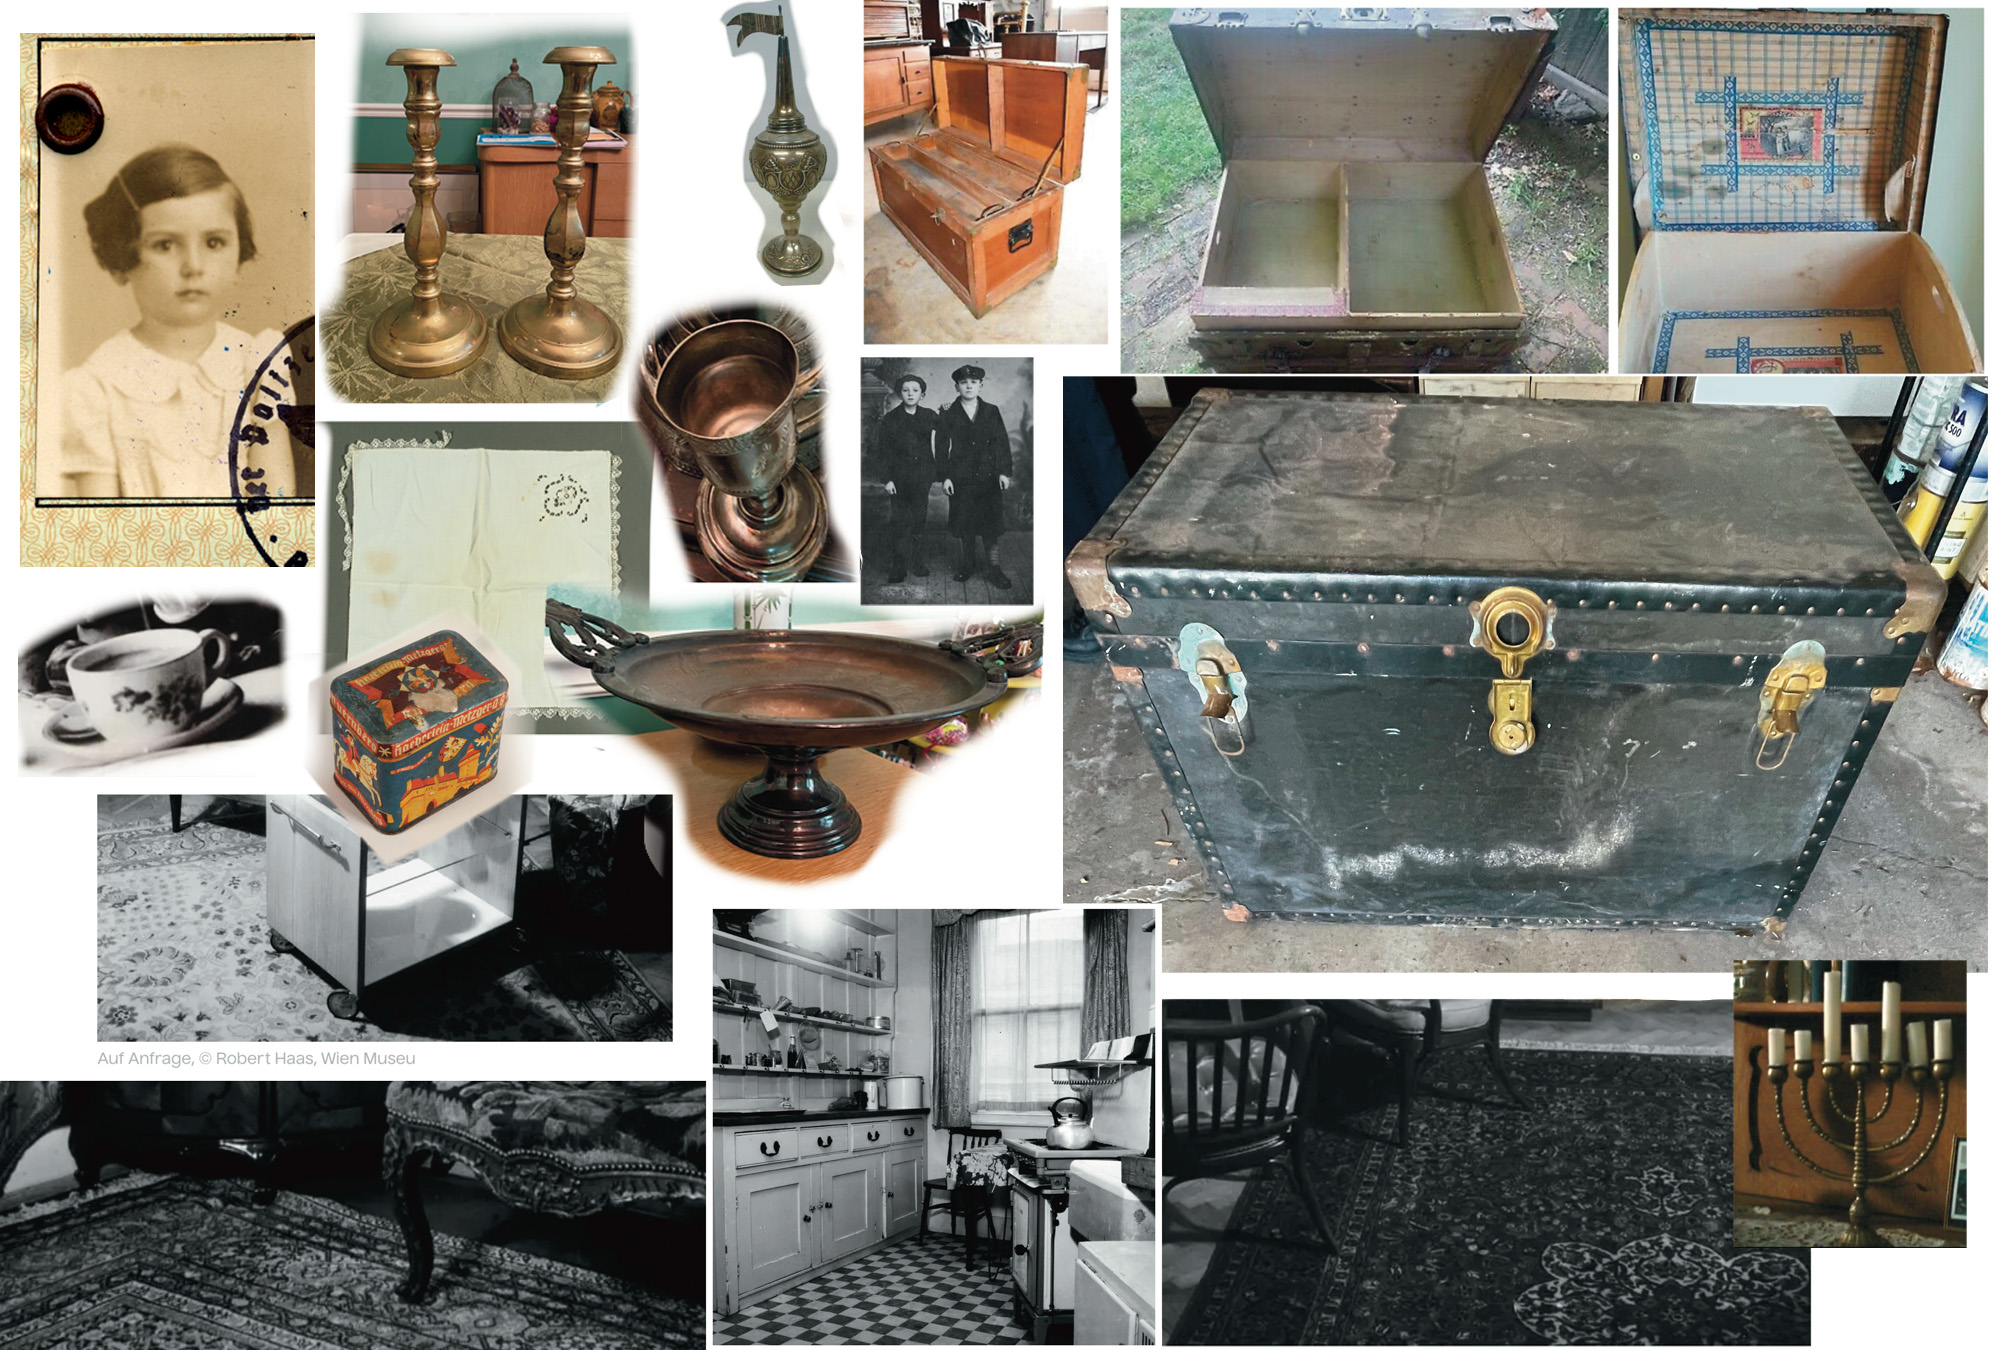
Photo reference is key for historical subject matter, and even more key when the subject is a personal one (for author Jacob Sager Weinstein and his family). He was able to get photographs of one of the actual trunks made by Rosa’s dad, as well as photos of items the family packed to bring to America, and I incorporated as much of those as I could. I filled in with items packed by other Jewish refugees documented and shared online by individuals, the United States Holocaust Museum, and the Jewish Museum of Vienna.

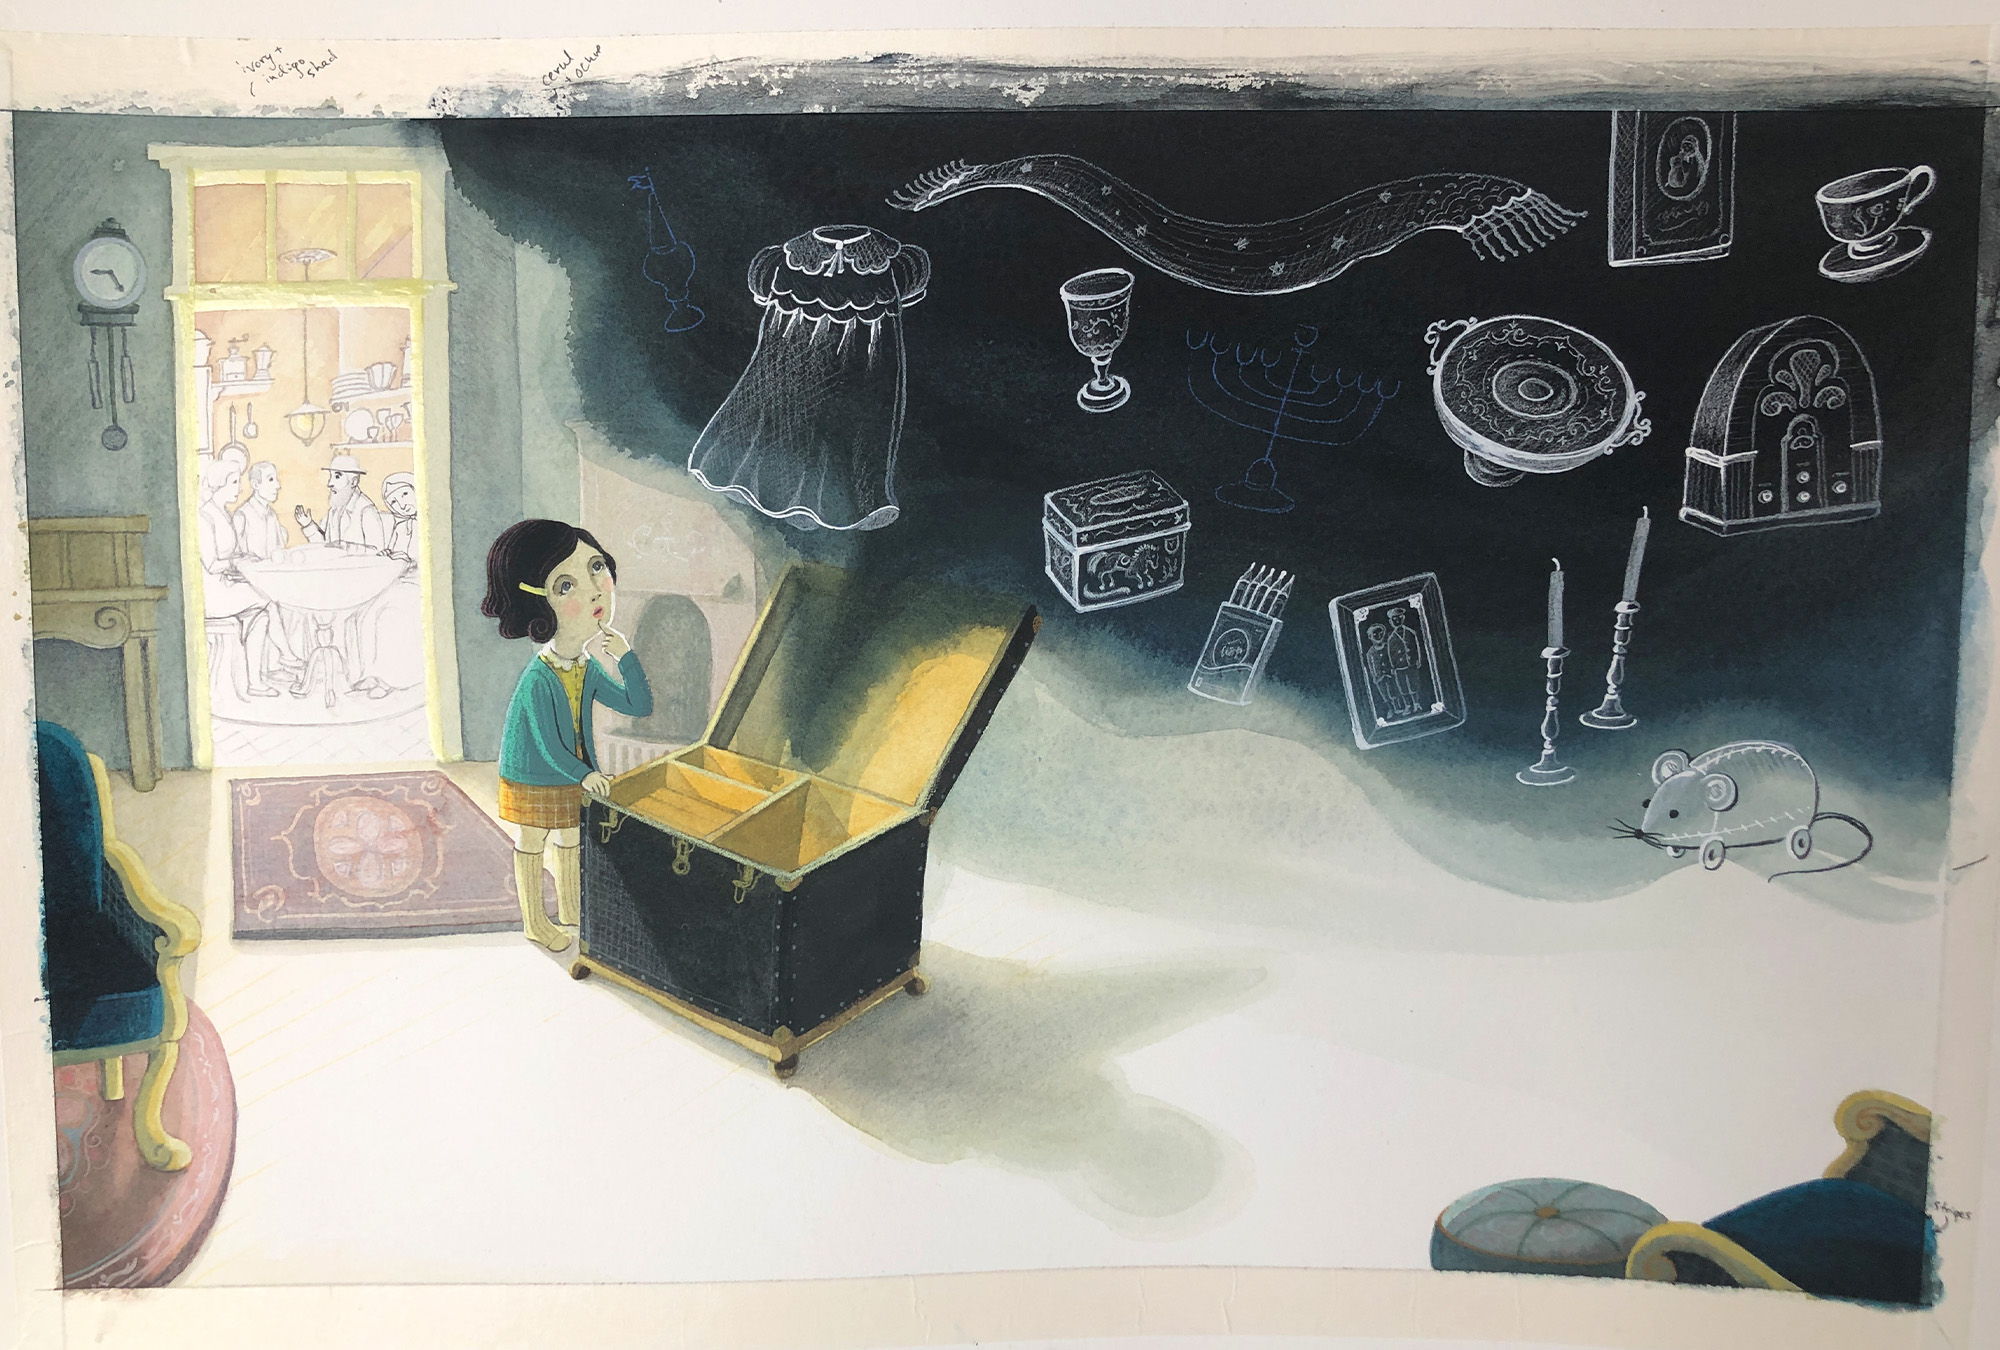
Next step – creating a refined sketch for the scene.
Working out, digitally, what my approach to color will be.

When ready, I print the sketch at full scale, and do some further refining (you can see I’ve pasted a new sketch of Rosa over the old one). Sometimes I do this digitally, sometimes cut and paste on paper.

The sketch is taped to the backside of the watercolor paper, and then lightly traced on the front using an artist’s Light Pad.
The base washes are laid down. Usually at this point, I have a freakout moment where I don’t know what to do next, and do I even know how to paint anymore?
So it helps to take a quick photo of the piece to bring into photoshop or Procreate, and do a little further development there as a way of figuring out what’s next (in a way I can undo and redo). The freakout ends, the painting resumes.
Painting about 3/4 the way through.
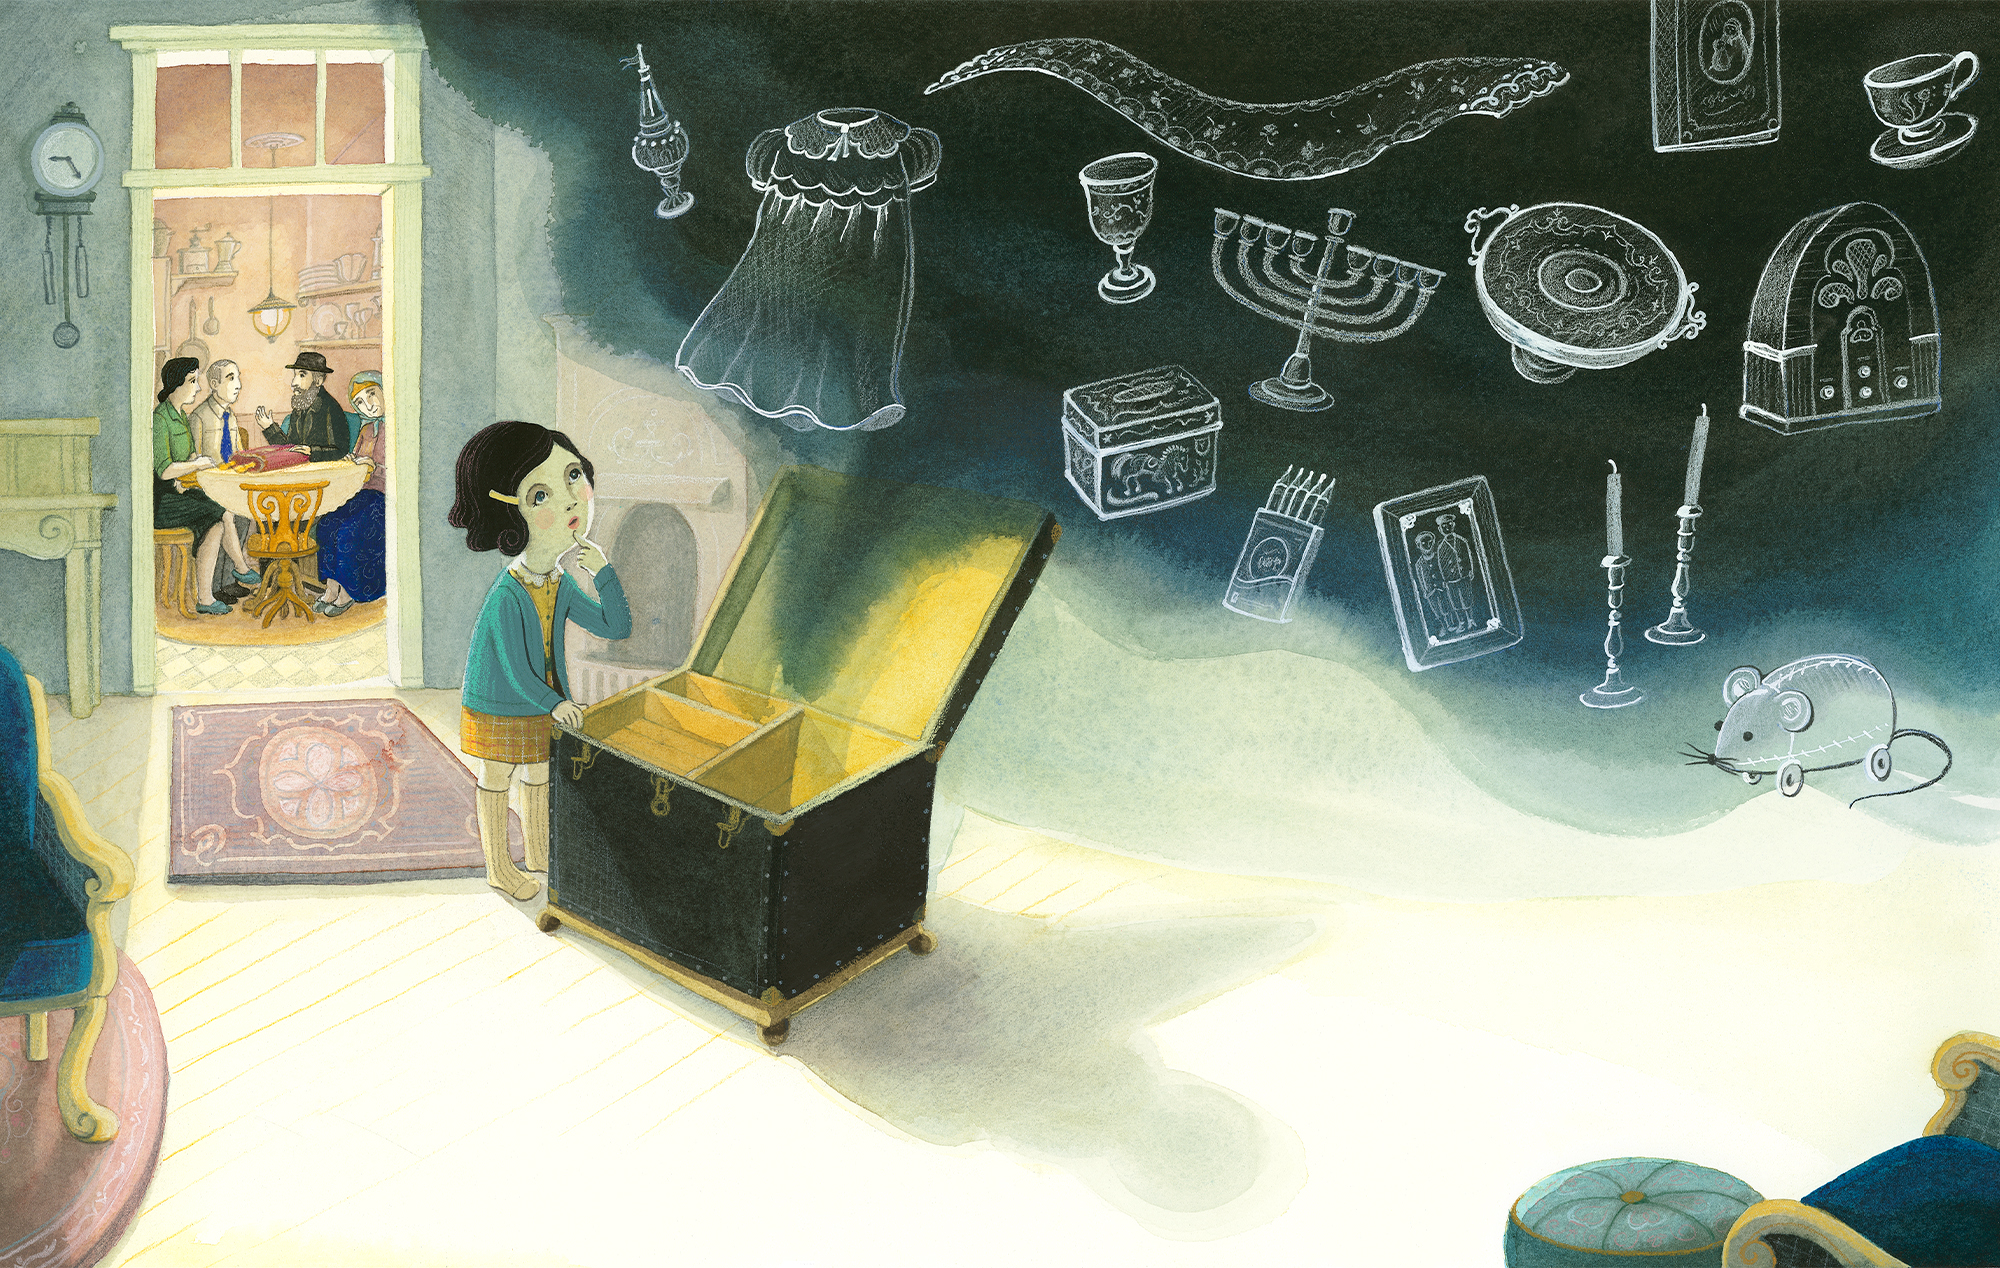
Final painting. We did it!
Materials used: M.Graham watercolors, India ink, various colored pencils, block printing ink, Molotow acrylic paint pens, and Caran’ache wax crayons, on Lanaquarelle 300lb paper.
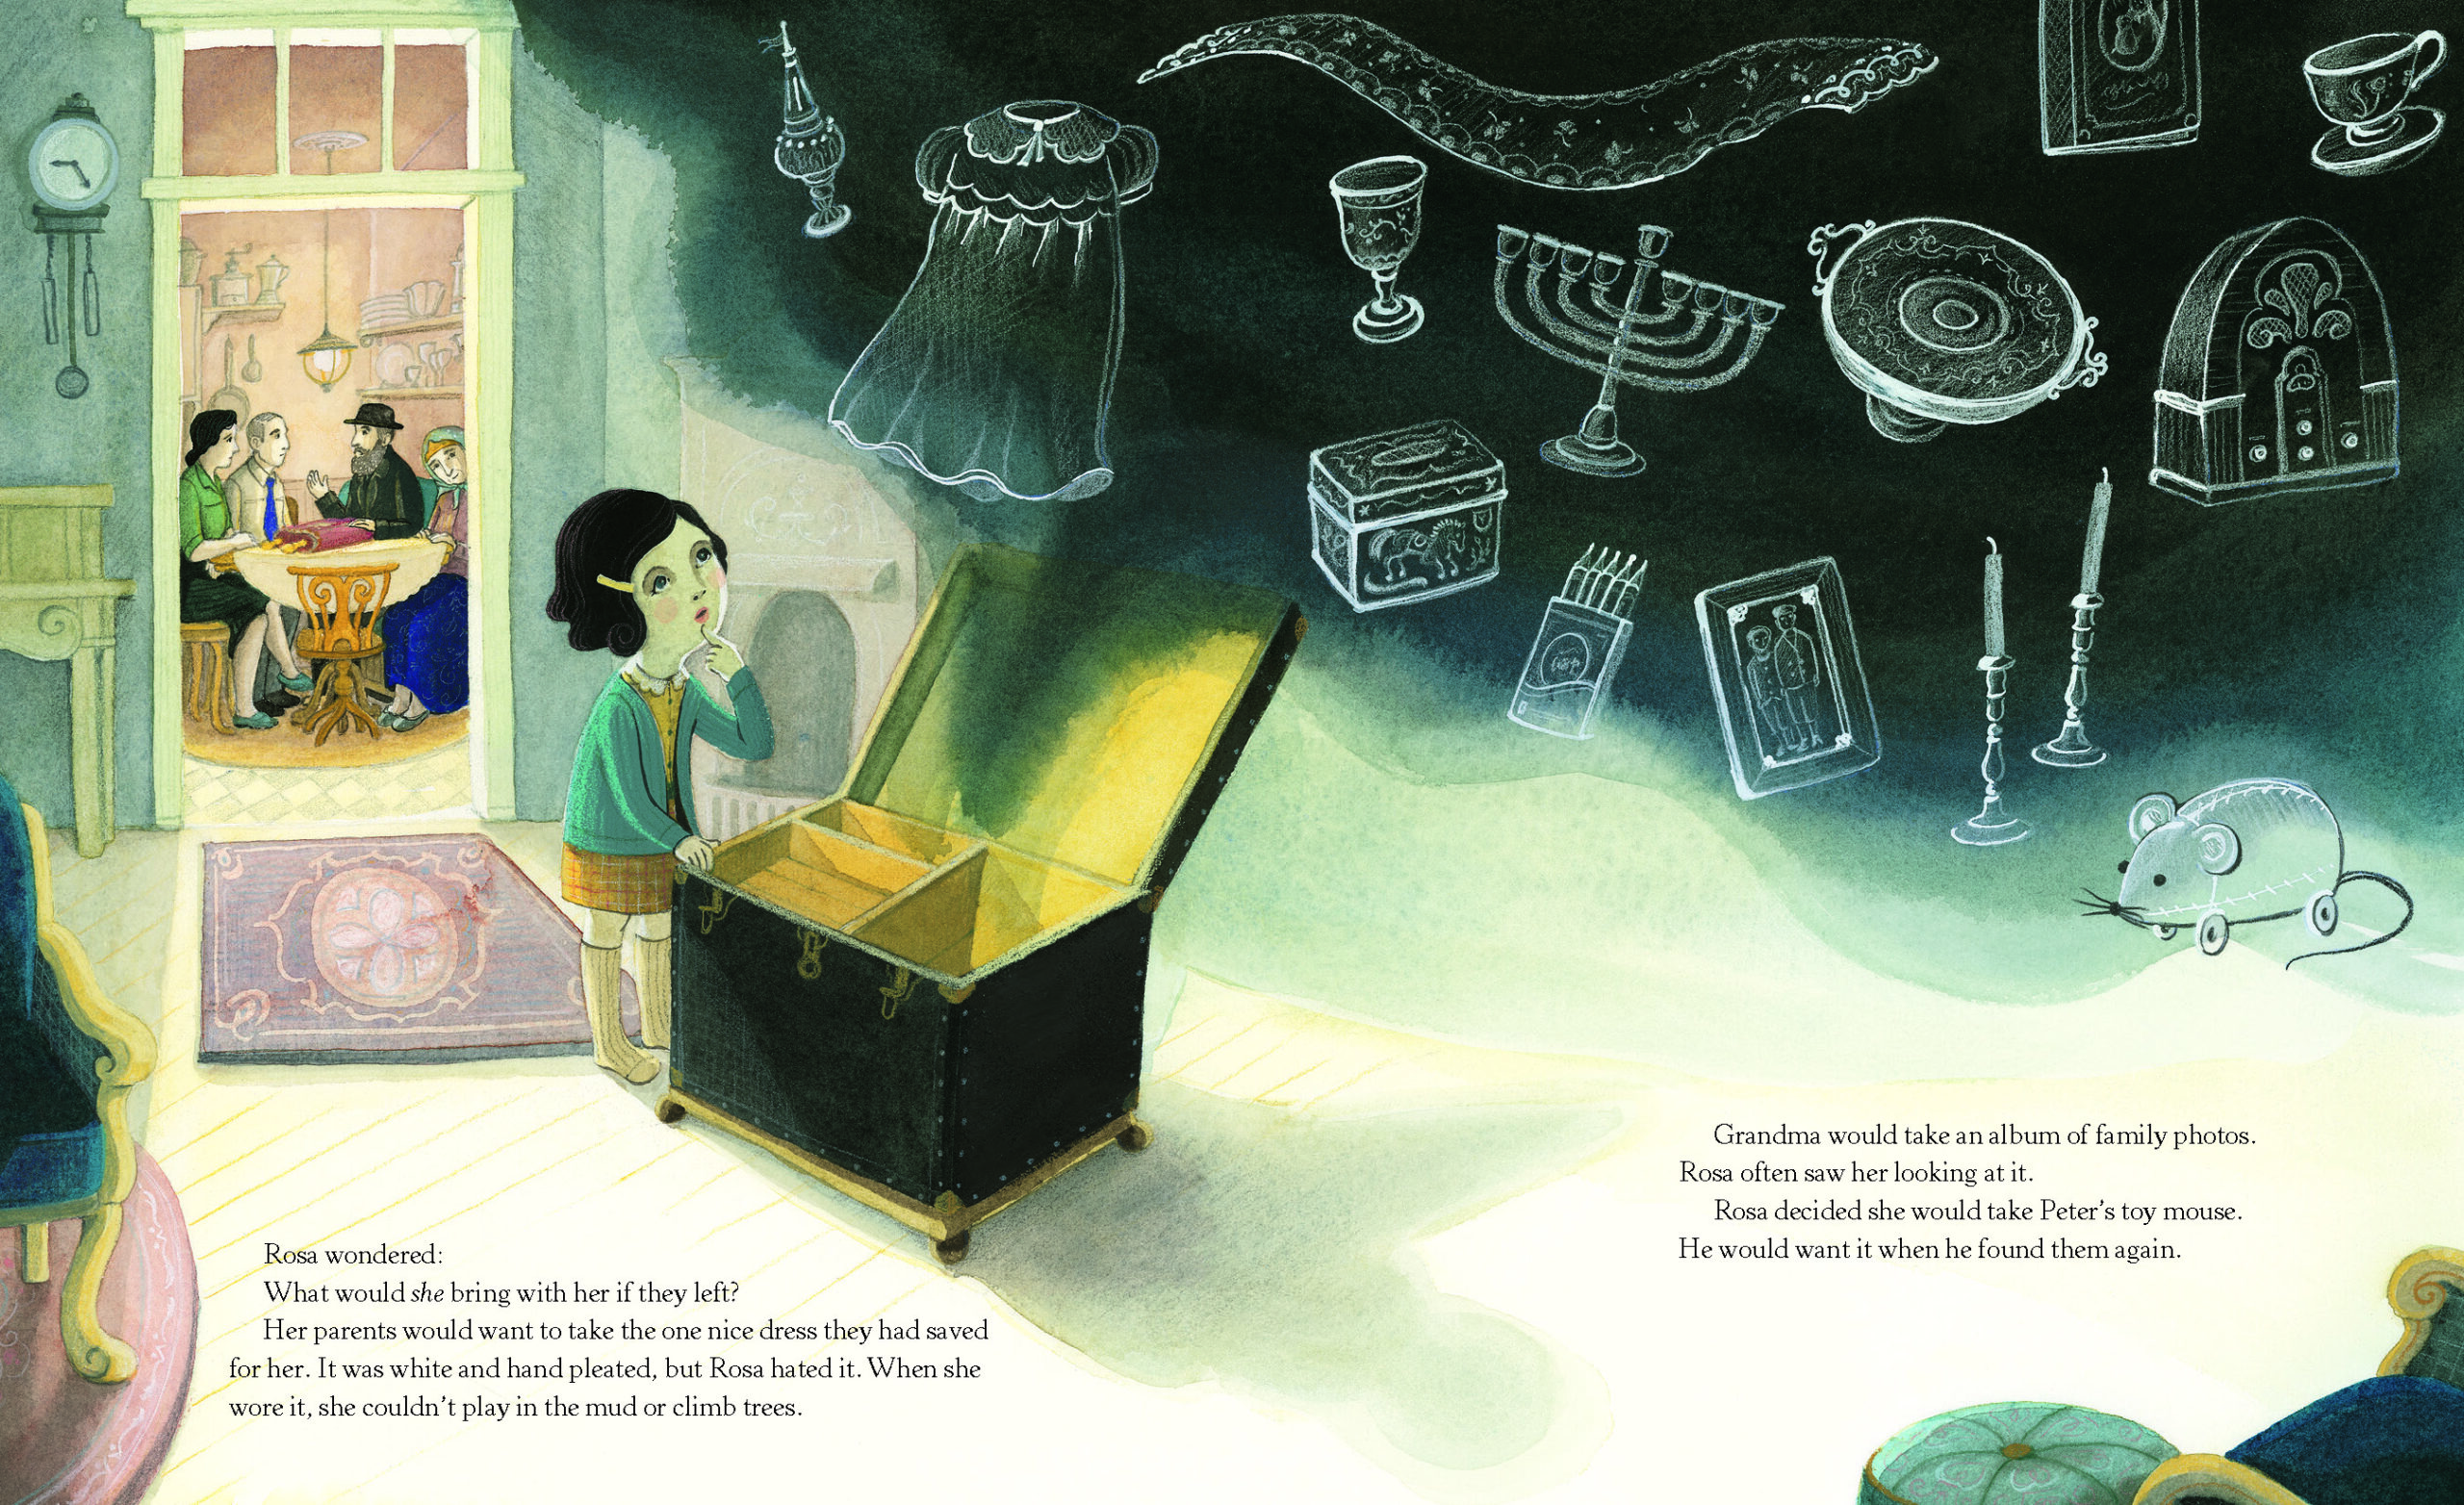
Here’s an image of the art with text laid in (imagine a fold splitting middle of the scene in the final book).
Thanks for reading!


Consider sharing ‘WHAT ROSA BROUGHT‘ with your local school, library, or house of worship.